Insulating your home can feel daunting, especially with so many options and limited budgets. Where do you start? In this guide, we’ll explore the most effective areas to prioritize your insulation spending. Don’t worry, we’ll keep it simple and help you make the best choices for your home—and your wallet!
How Do You Prioritize Insulation If You Can’t Do Everything at Once?
Insulating your home can feel overwhelming.
There are multiple areas to consider, different materials, and often a limited budget. So the big question becomes:
Where should you start?
The good news is: you don’t have to do everything at once to see real results.
A smart insulation plan focuses on:
- The biggest problem areas first
- The highest return on investment
- A phased approach over time
This allows you to:
- Improve comfort quickly
- Spread out costs
- Avoid wasted work
- Make confident decisions
Step 1: Start Where the Biggest Energy Loss Happens
Not all areas of your home perform equally.
If you want the most impact for your money, start with the areas where heat loss and air leakage are highest.
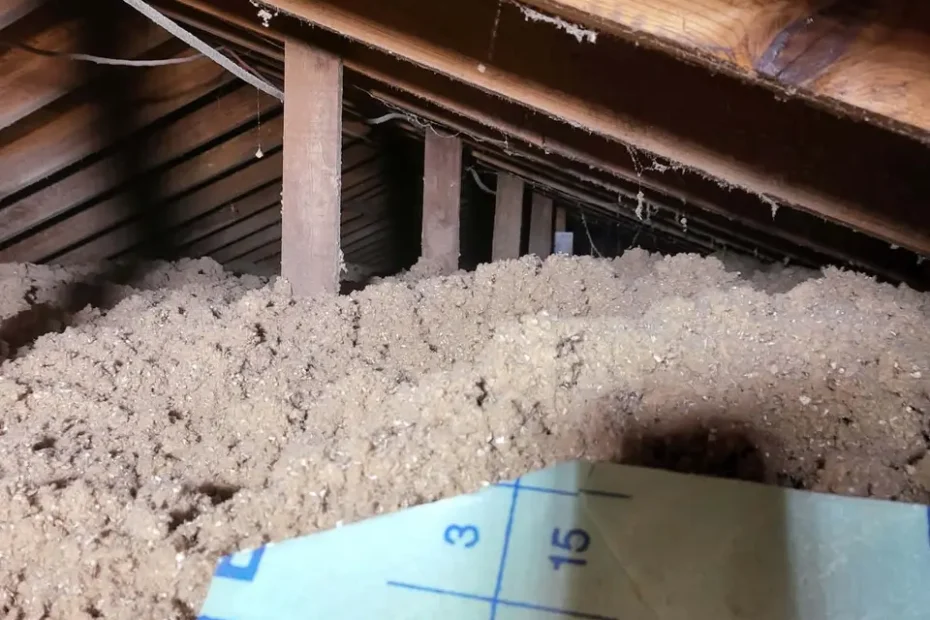
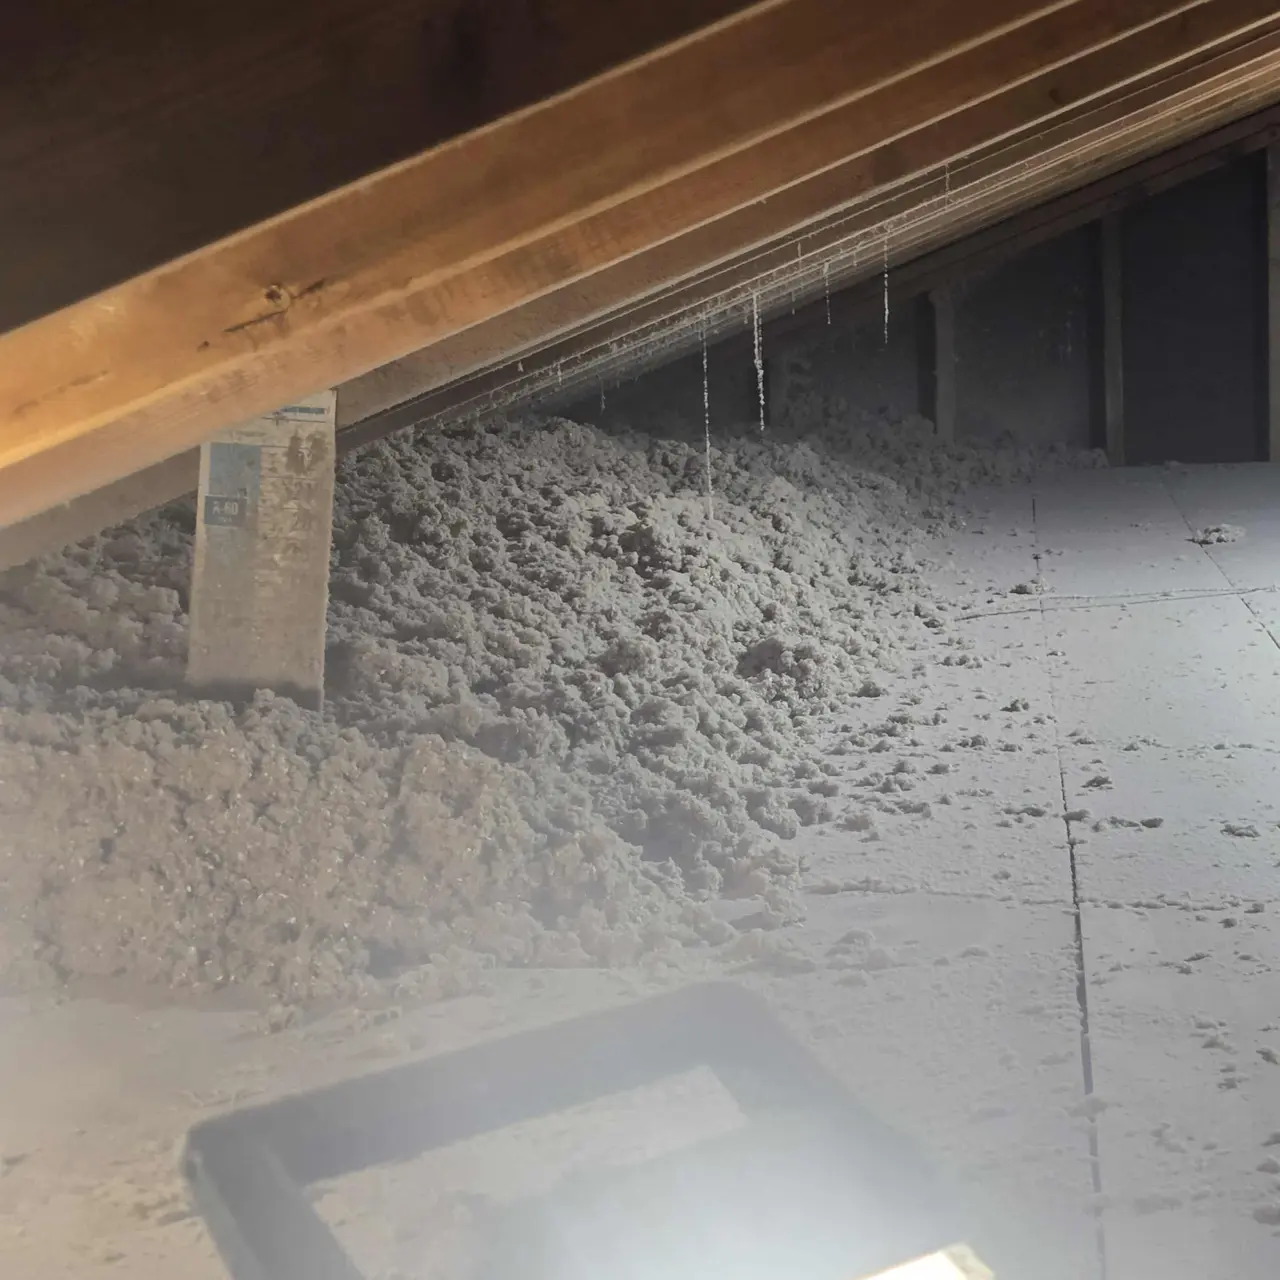
1. Attic: Your Home’s Biggest Heat Escape Route
The attic is typically the #1 place homes lose heat.
Why? Because heat rises.
If your attic isn’t properly sealed and insulated, warm air escapes through the top of your home—forcing your heating system to work harder.
This can feel like:
- Constant drafts
- Rooms that won’t stay warm
- High energy bills
A properly insulated attic:
- Keeps heat inside during winter
- Keeps heat out during summer
- Creates more consistent indoor temperatures
It’s often the best first investment you can make.
2. Crawlspace & Basement: Where Cold Air Enters
While heat escapes at the top, cold air enters from below.
That’s why crawlspaces, basements, and foundations are critical.
When these areas are under-insulated:
- Floors feel cold
- Rooms are harder to heat
- Moisture issues can develop
Insulating these spaces helps:
- Stabilize temperatures
- Reduce humidity
- Protect your home from long-term damage
A well-insulated basement or crawlspace acts as a buffer between your home and the outside environment.
3. Rim Joists: Small Area, Big Impact
Rim joists are one of the most common air leakage points in a home.
Even though they’re a small area, they can:
- Let in cold air
- Create drafts
- Reduce overall efficiency
Sealing and insulating rim joists is often a high-impact, lower-cost upgrade.
Step 2: Seal Air Leaks Before Adding Insulation
Before adding insulation, it’s critical to address air movement.
Think of insulation like a blanket—it slows heat transfer.
But if air is still moving freely, that blanket won’t work effectively.
Common air leak areas include:
- Attic penetrations
- Rim joists
- Around windows and doors
- Gaps in framing
Even simple improvements like:
- Weather stripping
- Caulking
- Air sealing penetrations
…can make a noticeable difference.
This step is often the highest return, lowest cost improvement you can make.
Step 3: Build a Phased Insulation Plan
Instead of thinking “all or nothing,” break your project into manageable stages.
Phase 1: Immediate Impact (0–3 Months)
Focus on the biggest comfort problems first.
Typical upgrades:
- Attic air sealing
- Attic insulation upgrades
- Rim joist sealing
- Addressing major drafts
What you’ll notice:
- Fewer drafts
- More consistent temperatures
- Immediate comfort improvement
This phase delivers the fastest return on investment.
Phase 2: Secondary Areas (3–12 Months)
Once the major losses are addressed, move to supporting areas.
Typical upgrades:
- Crawlspace insulation or encapsulation
- Basement insulation
- Moisture control improvements
- Garage insulation (if affecting living space)
What you’ll notice:
- Warmer floors
- Reduced humidity
- Better overall balance in the home
Phase 3: Optimization & Long-Term Efficiency (1–3 Years)
This phase focuses on fine-tuning your home’s performance.
Typical upgrades:
- Wall insulation (especially in older homes)
- Insulating high-impact interior walls (garage-to-house, bonus rooms)
- Soundproofing and comfort upgrades
What you’ll notice:
- Maximum efficiency
- Improved comfort in every room
- Long-term energy savings
Where NOT to Start (Common Mistakes)
If you’re budgeting, avoid starting with low-impact upgrades.
Common mistakes:
- Replacing windows before fixing insulation
- Adding insulation without air sealing
- Ignoring attic and foundation areas
These often cost more while delivering less noticeable improvement.
How Much Should You Budget?
Every home is different, but a phased approach helps you stay in control.
Instead of one large upfront cost, you can:
- Break projects into stages
- Prioritize based on comfort issues
- Invest where results are most noticeable
Many homeowners find that Phase 1 alone makes a major difference.
Why a Plan Matters More Than a Price
The biggest mistake homeowners make is comparing insulation projects only by price.
What matters more is:
- What areas are being addressed
- Whether air sealing is included
- Long-term performance
A lower-cost project that skips key steps often leads to:
- Ongoing comfort issues
- Higher energy bills
- Needing to redo work later
A phased plan helps you do it right the first time.
Get a Phased Plan for Your Home
Every home is different, which means the right order of improvements can vary.
A professional assessment can help you:
- Identify the biggest problem areas
- Prioritize based on your budget
- Build a step-by-step plan
- Avoid unnecessary work
Get a free assessment
We’ll walk through your home and help you understand exactly where to start—and what can wait.
No pressure. Just a clear plan built around your home.
FAQs
Do I need to insulate my whole house at once?
No. Many homeowners see major improvements by starting with attic insulation and air sealing.
What’s the best place to start?
In most homes, the attic and air sealing provide the biggest return.
Is sealing drafts really that important?
Yes. Even the best insulation won’t perform well if air is leaking into or out of the home.
Can I do insulation in stages?
Absolutely. A phased approach is one of the most effective ways to manage cost.
Will I notice a difference after Phase 1?
In many cases, yes. Most homeowners feel a noticeable improvement in comfort right away.