
Figuring out how much insulation to put in your attic can seem daunting, but it doesn’t have to be! With the right guidance, you can ensure your home stays energy-efficient and comfortable. Let’s break it down step by step.
Step 1: Evaluate Your Current Insulation
Check the existing insulation levels in your attic. This will give you a baseline for understanding what’s needed.
To start, remove any covering that may be obscuring the insulation. Look for any signs of wear, such as compression, moisture, or gaps. If your insulation appears thin or damaged, it’s likely an indicator that you’ll need to add more.
In many cases, homeowners are surprised to discover that their existing insulation level is below recommended standards. Typically, an R-value of 30 to 60 is ideal for most attics, depending on your climate. Make a note of what you have so you can determine how much insulation to purchase.
This step is crucial because it informs all the subsequent decisions you will make. If you find your insulation is adequate, then perhaps you only need to top it off. If it’s insufficient, you’ll need to calculate how much more is needed.
Step 2: Know Your Climate Zone
Different areas require different insulation levels based on climate. Familiarize yourself with the recommended R-values for your region.
For instance, if you live in a colder region, you’ll need a higher R-value compared to warmer areas. Understanding your climate zone can help you make informed choices about insulation thickness and the materials best suited for your needs.
You can easily find climate zone charts online that break down R-values by state and even by county. This information is vital because applying too little insulation could lead to higher heating costs in winter and poor cooling in summer, significantly affecting your home’s comfort.
Don’t just assume that standard insulation will suffice; it’s essential to adapt your insulation strategy based on local climate data.
Step 3: Calculate the Attic Size
Measure your attic’s square footage to determine the total amount of insulation you’ll need.
Use a tape measure to find the length and width of the attic floor, and then multiply these numbers to get the square footage. For example, if your attic measures 20 feet by 30 feet, you have 600 square feet to cover.
Now, knowing the square footage is important, but you also need to factor in the R-value you’re targeting. This can vary based on your climate zone and current insulation levels, but having this number will help you narrow down the amount of insulation you should purchase.
Calculating the amount needed may require some simple math. For instance, if you’re aiming for an R-value of 38 in a 600-square-foot attic, you might need around 11 to 14 inches of fiberglass insulation, approximately translating to around 18 bags of blown-in insulation. Always consult with your installer to get precise estimates.
Step 4: Choose the Right Type of Insulation
Select the insulation material that best fits your needs, whether it’s batt, blown-in, or spray foam insulation.
Batt insulation is often the most economical choice and works well in standard frame constructions. It’s also easy to install yourself, making it a popular option for DIY enthusiasts.
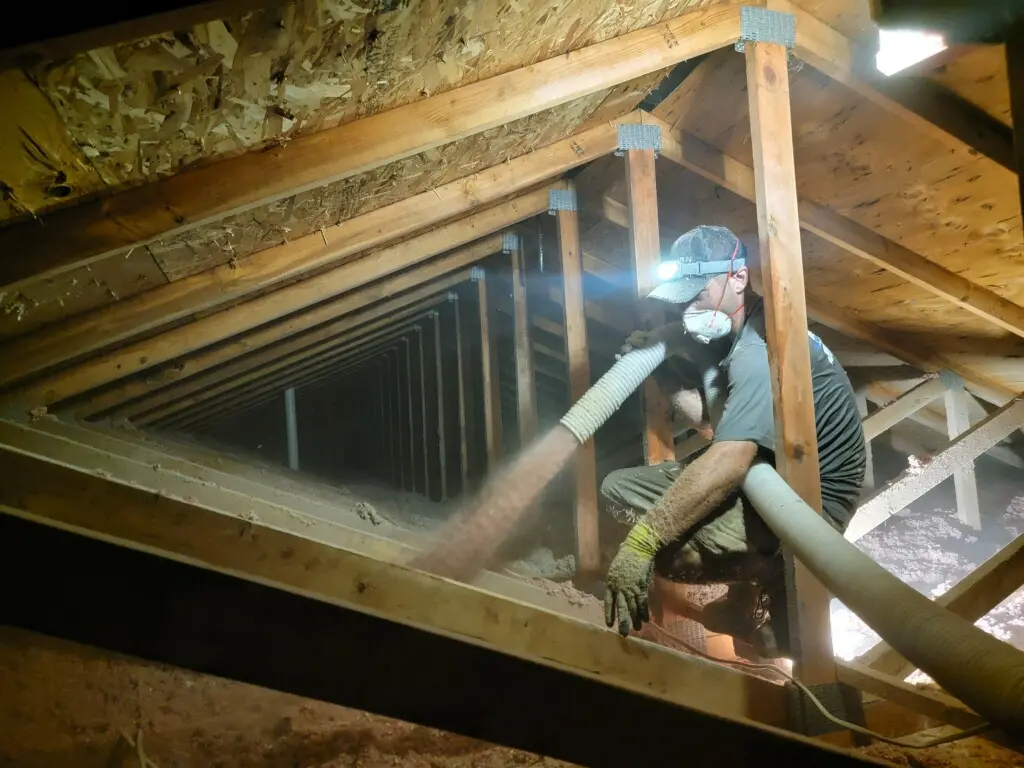
On the other hand, blown-in insulation is ideal for hard-to-reach areas, providing better coverage and filling gaps more efficiently than batts. This type is especially useful if you’re retrofitting an older house that needs a little extra insulation love.
Spray foam insulation, while more expensive, offers top-notch air sealing and high R-values in a thinner profile. It expands to fill every nook and cranny, making it a fantastic option for tricky spaces.
Deciding on the right type of insulation is essential — not just for efficiency but also for your budget and home comfort.
Step 5: Install the Insulation Correctly
Make sure to follow installation guidelines carefully, ensuring proper sealing and coverage to maximize efficiency.
Regardless of the insulation type you choose, proper installation is paramount. Gaps or missed spots can lead to temperature fluctuations and higher energy costs. Ensure you fill corners, edges, and any obstructions thoroughly.
Consider hiring a professional if you’re unsure about the installation process; their expertise can save you time and prevent potential mistakes during the project.
Once installed, regularly check your insulation, especially after extreme weather. Make adjustments as necessary to maintain optimal performance. Remember, insulation isn’t a set-it-and-forget-it solution!
Final Thoughts on Insulation
By following these steps, you can confidently choose the right amount of insulation for your attic, keeping your home cozy in winter and cool in summer.