Insulating your home is a smart way to save energy and enhance comfort. Whether you’re a DIY enthusiast or just starting out, understanding the essential tools and techniques can make all the difference. In this guide, we will explore various insulation tools and methods that will set you on the right path.

Essential Hand Tools for Insulation
Every DIYer must be equipped with the basics. Explore must-have hand tools like utility knives, staple guns, and measuring tapes for effective insulation projects.
Utility knives, in particular, are indispensable for cutting insulation materials with precision. Their versatility allows you to tackle various types of insulation, including rigid board and fiberglass batts. Be sure to invest in a good quality knife—one that fits comfortably in your hand can enhance your cutting experience and ensure safety.
Measuring tapes are another key tool in the insulation toolkit. Accurate measurements save time and materials, making this tool essential for any insulation project. Once you have your dimensions, you can easily plan out how much insulation you’ll need, reducing waste and maximizing efficiency.
Lastly, a staple gun may seem simple, yet it’s vital for securing your insulation. Be sure to choose a model that can drive staples into various materials to ensure your insulation stays firmly in place. Given these essential hand tools, you’ll be well on your way to a successful insulation job.
Power Tools to Boost Efficiency
Investing in power tools such as circular saws and oscillating multi-tools can significantly expedite your insulation process. Learn about their use and benefits.
Circular saws are perfect for making quick and clean cuts through rigid foam boards and plywood. They allow you to speed up the installation process while ensuring that your measurements hold true. A fine-tooth blade works wonders with insulation materials, leading to less fraying and wastage.
On the other hand, oscillating multi-tools bring a new level of versatility to your projects. These tools are exceptional for making detailed cuts in tight spaces, which is often needed when working around pipes and electrical fixtures. With the right attachments, they can help you score and cut through the toughest materials responsible for insulating your home effectively.
But remember, it’s important to always consider the safety measures associated with using power tools. Wearing protective gear, such as eye and ear protection, is vital while operating these machines to ensure a safe project environment. In conclusion, equipping yourself with power tools empowers you to work faster and smarter, enhancing the quality of your insulation efforts.
Safety Gear: Protecting Yourself While Insulating
Safety should always be a priority during any project. Discover the necessary safety gear, including goggles, gloves, and masks, to keep yourself safe while insulating.
The very first item on your safety checklist should be goggles. Insulation materials like fiberglass can irritate your eyes, and goggles provide essential protection against any flying debris. Opt for a pair that fits snugly and allows for ventilation to minimize fogging. Also, don’t underestimate the power of a good pair of gloves. They not only protect your hands from sharp materials but also keep you insulated from prickly fibers.
A dust mask or respirator is crucial when working with materials like foam or cellulose. Some types of insulation can release harmful particles into the air, which can be detrimental to your lungs. It’s wise to choose a mask rated for the type of work you’re doing—an N95 respirator is a good starting point.
In addition to these, consider wearing long sleeves and pants to protect your skin from irritation caused by insulation materials. The right gear not only ensures safety but enhances your comfort as you tackle your insulation projects. Remember, investing in safety gear is investing in your health.
Understanding Different Types of Insulation Materials
Not all insulation materials are created equal. Dive into the different types of insulation available, such as fiberglass, foam, and cellulose, to find what’s right for your space.
Fiberglass insulation remains one of the most popular choices due to its affordability and effectiveness. It can be found as batts, rolls, or loose fill, making it versatile for various applications. However, it’s essential to handle fiberglass carefully, as its tiny fibers can cause skin irritation. Wearing protective clothing during installation will minimize discomfort.
Foam insulation, whether in board or spray form, boasts a high R-value—meaning it’s excellent for energy efficiency. Spray foam expands on application, filling gaps and cracks, which makes it ideal for attics and crawl spaces. While more expensive upfront, it can lead to significant energy savings in the long run. Moreover, insulation foam boards are great for exterior wall applications due to their moisture resistance.
Cellulose, made from recycled paper, is an eco-friendly option that also provides excellent thermal performance. It’s often blown into walls and attics, resulting in an effective barrier against heat transfer. Additionally, it tends to be treated with fire retardants to enhance safety. Choosing the right insulation material for your home will depend on factors such as budget, location, and specific insulation needs, making it crucial to do thorough research.
Techniques for Proper Installation
Installation techniques can significantly affect insulation performance. Learn the best practices for applying insulation, including fitting and sealing methods.
The first rule of thumb during installation is ensuring there are no gaps. Gaps can lead to heat loss, which defeats the purpose of installing insulation in the first place. Whether you are installing batts in walls or foam in an attic, take the time to measure accurately and cut carefully to achieve a snug fit.
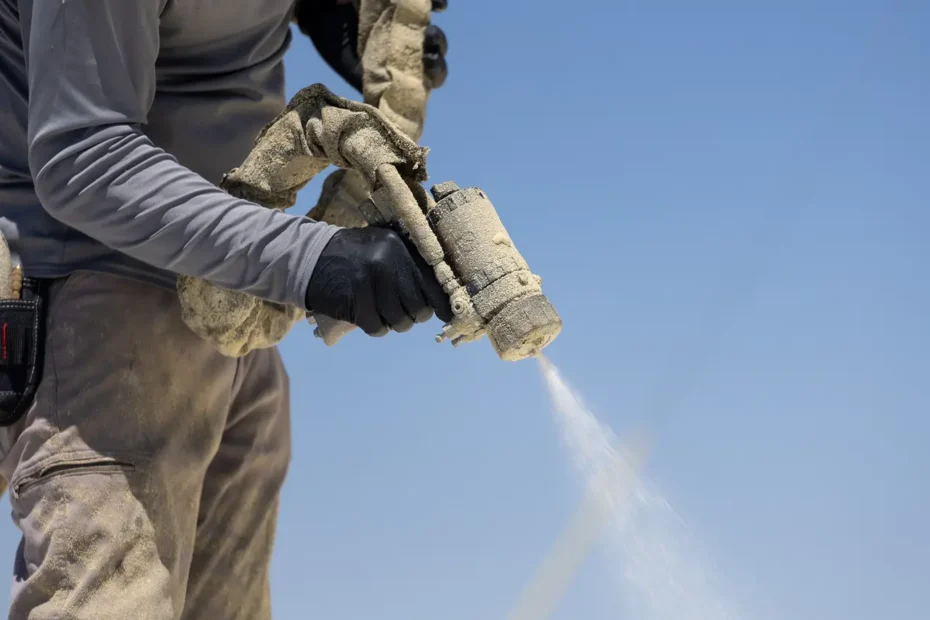
For loose-fill insulation, ensure that you achieve uniform coverage. When blowing cellulose or fiberglass, it’s crucial to keep the nozzle at an appropriate angle and distance to avoid clumping, which can create weak insulated sections. After installation, a thermal camera can help identify cold spots where insulation may be lacking.
Finally, sealing the edges of insulation with caulk or expanding foam can enhance performance by minimizing air leaks. This practice becomes particularly important around ductwork and electrical boxes where air can easily escape. In conclusion, investing time in learning proper installation techniques will yield dividends in both comfort and affordability over time.